はじめに
NotionRubyMapping 解説の第50回目です。ページ側のプロパティを解説しています。今回は SelectProperty の変更です。基本的には以前説明した MultiSelectProperty とほぼ同様ですが、一つしか選択できないので配列でなくなっています。現在はデータベース内の最初のページを使って説明していきます。
irb(main):002> page = Page.find "https://www.notion.so/hkob/619a113814134c759773175ac988b96a?pvs=4"
=> NotionRubyMapping::Page-619a113814134c759773175ac988b96a
SelectProperty
まず、SelectProperty を取得します。
irb(main):003> sp = page.properties["Select"]
=>
#<NotionRubyMapping::SelectProperty:0x000000011fbb5f10
.
select でセレクトの設定状況を確認できます。初期状態では空なので name には nil が結び付けられています。
irb(main):004> sp.select
=> {"name"=>nil}
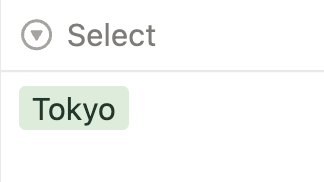
select = でセレクトを設定できます。select を見ると nil だった部分が Tokyo になっています。
irb(main):005> sp.select = "Tokyo"
=> "Tokyo"
irb(main):006> sp.select
=> {"name"=>"Tokyo"}
irb(main):007> page.save
=> NotionRubyMapping::Page-619a113814134c759773175ac988b96a
設定されたセレクトがプロパティに設定されていることがわかります。
一覧に存在しない値を設定することもできます。
irb(main):008> sp.select = "Fukuoka"
=> "Fukuoka"
irb(main):009> page.save
=> NotionRubyMapping::Page-619a113814134c759773175ac988b96a
設定されたセレクトがプロパティに設定されています。
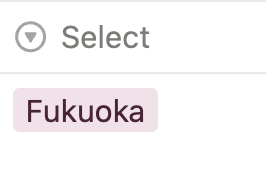
親のデータベースのプロパティを見ると、Fukuoka が追加されています。色は適当に付けられるので、変えたければデータベースプロパティを変更します。
irb(main):010> page.parent.properties["Select"].select_options
=>
[{"id"=>"481e0a63-a929-4470-90cd-f70733368df5",
  "name"=>"Tokyo",
  "color"=>"green",
  "description"=>nil},
 {"id"=>"803f35e0-156e-4db5-881c-99358fb53983",
  "name"=>"Osaka",
  "color"=>"blue",
  "description"=>nil},
 {"id"=>"9e9d6e11-c376-49e5-82b3-32c00e5a59ad",
  "name"=>"Kyoto",
  "color"=>"yellow",
  "description"=>nil},
 {"id"=>"ef777e7c-fa89-42f2-a049-f1f693fdba2f",
  "name"=>"Fukuoka",
  "color"=>"pink",
  "description"=>nil}]
おわりに
今回はページの SelectProperty の変更を説明しました。MultiSelectProperty と同様に存在しないオプションはデータベースプロパティに自動的に登録されます。
SelectProperty のマニュアルはこちらです。